")
From Grain to Glass—Crafting Your Own Whisky at Home
How do you make your own whisky? Some call it homegrown whisky, but even so, is it possible? Can ou make this amazing spirit from home?
Whisky—spelled “whiskey” in some regions—has long been regarded as an art form as much as a spirit. From the rolling hills of Scotland to the backwoods of Kentucky, whisky’s allure lies in its complexity, heritage, and the slow, meditative process required for its making. Many enthusiasts dream of crafting their own whisky; a journey that not only results in a unique beverage but also offers a deeper appreciation for the craft.
This article will guide you through the essential steps of making homegrown whisky, from selecting your grains and fermenting the mash to distillation, aging, and ultimately savoring your creation.
Important: Before you begin, ensure you comply with all local laws and regulations regarding the distillation and production of spirits. In many countries, distilling alcohol at home without a license is illegal, regardless of intent.
1. Understanding Whisky Basics
Before diving into the process, it’s essential to understand what whisky is and how it’s made. At its core, whisky is a distilled alcoholic beverage made from fermented grains and aged in wooden casks, typically oak. The type of grains used, method of fermentation, distillation techniques, and aging process all contribute to the final flavor and character of the spirit.
Key Ingredients
- Grains: Barley, corn, rye, and wheat are the most common grains. Each brings its own flavor profile and texture.
- Water: Pure, clean water is crucial for mashing and fermentation.
- Yeast: Responsible for fermenting sugars to alcohol and contributing subtle flavors.
- Wood: The type and treatment of the aging barrel significantly impact the whisky’s aroma and flavor.
2. Sourcing and Preparing Your Homegrown Whisky Ingredients
Choosing the Grains
Homegrown whisky begins with the selection of grains. If you’re aiming for authenticity, consider growing your own barley or corn. Fresh, high-quality grains ensure better flavors and a sense of pride in your finished product. Malted barley is the backbone of traditional Scotch whisky, while bourbon relies heavily on corn.
Malting (Optional)
Malting is the process of germinating, drying, and sometimes lightly roasting grains to convert their starches to fermentable sugars. For home whisky, you can purchase pre-malted grains or malt your own by soaking, sprouting, and drying your harvest.
Grinding the Best Homegrown Whisky
The grains must be ground or crushed to expose the starches for mashing. A home grain mill or even a powerful blender can do the job.
3. Mashing: Turning Starch to Sugar
Mashing involves mixing ground grains with hot water to extract sugars. The typical ratio is one part grain to three or four parts water.
Steps for Mashing
- Heat water to around 150°F (65°C).
- Slowly add ground grains, stirring continuously to prevent clumping.
- Maintain temperature for 60-90 minutes. This activates enzymes that convert starches to sugars.
- After mashing, cool the mixture (now called “mash”) to room temperature.
4. Fermentation: Creating Alcohol
Once your mash is cooled, transfer it to a sanitized fermenter. Add yeast—either a commercial whisky yeast strain or a general-purpose distiller’s yeast.
Fermentation Process of Your Homegrown Whisky
- Seal the fermenter with an airlock to allow gases to escape and keep contaminants out.
- Let the mash ferment at 65-75°F (18-24°C) for 3-7 days, or until bubbling ceases.
- The result is a beer-like liquid known as “wash,” with an alcohol content of 6-10% ABV.
5. Distillation: Refining the Spirit
Distillation is where the magic—and legal oversight—happens. It concentrates alcohol and separates impurities. Use a copper pot still or column still. Copper is ideal because it reacts with sulfur compounds, improving flavor.
First Distillation of Homegrown Whisky (Stripping Run)
- Pour the wash into the still. Heat gently to evaporate alcohol, which condenses back into liquid in a cooled coil or column.
- Collect the first run—called “low wines”—which is typically 20-30% ABV.
Second Distillation of Homegrown Whisky (Spirit Run)
- Clean your still. Pour in the low wines for a second distillation.
- Monitor the temperature and carefully collect the different fractions:
- Foreshots: The first 5% contains toxic compounds and should be discarded.
- Heads: Lighter, volatile compounds—remove 10-15% for a cleaner spirit.
- Hearts: The main body—keep this. It’s the highest quality spirit.
- Tails: The final runnings become oily and off-flavored—set aside or redistill.
Safety and Legal Reminder about Homegrown Whisky
Distilling alcohol can be hazardous due to flammable vapors and high pressure. Always distill in a well-ventilated area, use proper equipment, and never leave the still unattended. Confirm that you are operating within the laws of your jurisdiction.
6. Aging: Developing Character for Your Homegrown Whisky
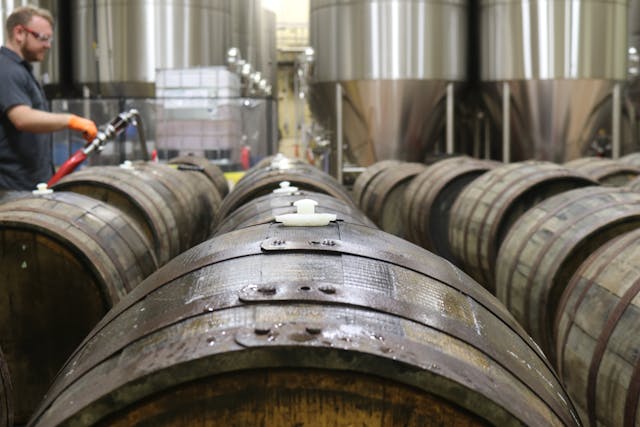
Whisky gains much of its complexity and signature flavor from aging in oak barrels. Oak imparts vanillin, tannins, and other compounds, mellowing the spirit and adding depth.
Barrel Selection and Preparation
- Charred American white oak barrels are a classic choice.
- Small barrels age spirits faster but can over-oak; monitor flavor regularly.
- If barrels are unavailable, oak chips or staves can be used for home experiments.
The Aging Process of Your Homegrown Whisky
- Fill your barrel or container, leaving room for expansion.
- Store in a cool, dark place, ideally at 55-65°F (13-18°C).
- Age for at least 6 months (small barrels) to several years (full-size barrels) for complexity.
- Taste periodically to monitor progress and avoid over-oaking.
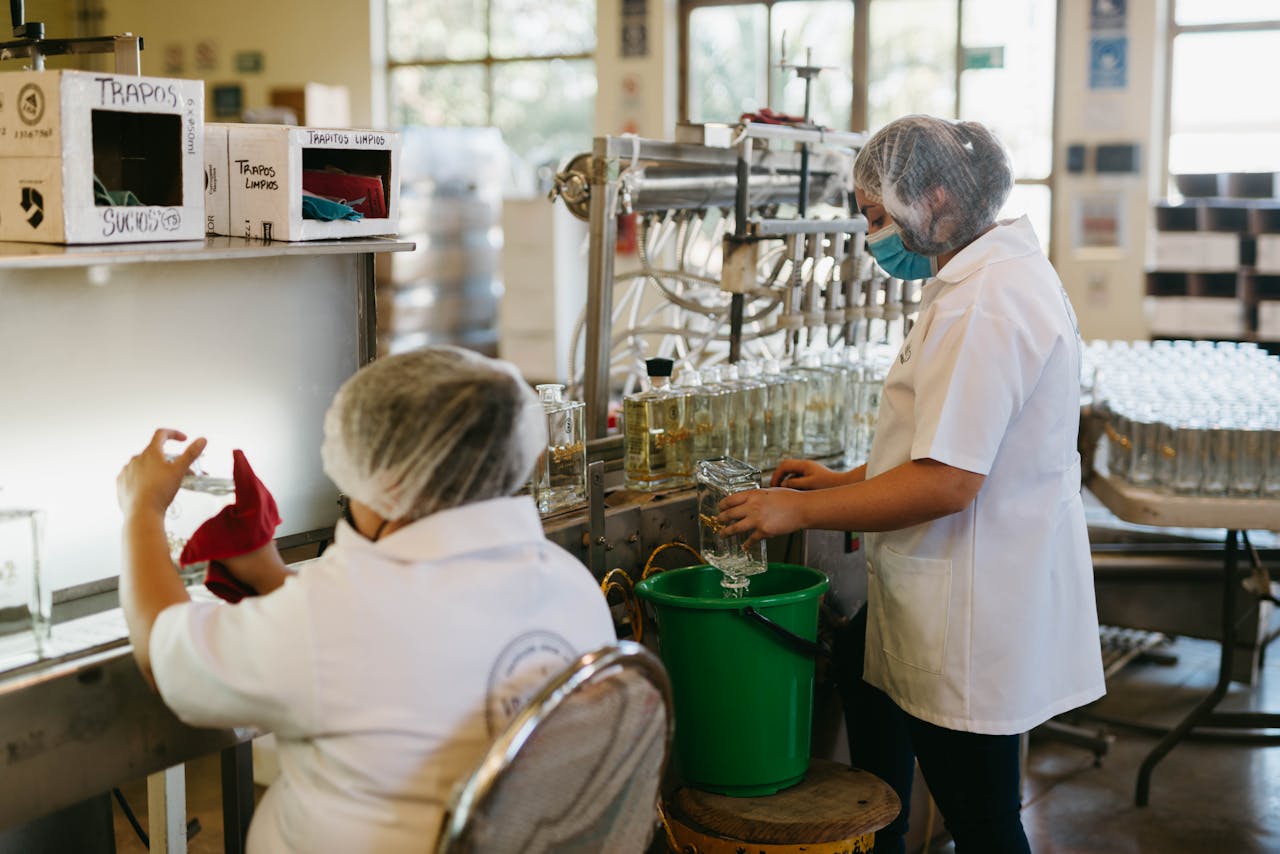
7. Bottling and Enjoying Your Homegrown Whisky
Once your whisky has reached the desired maturity:
- Filter the spirit through cheesecloth or a fine filter to remove sediment.
- Bottle in clean, sanitized glass containers. Clear or brown glass are both fine, though brown can protect flavor from sunlight.
- Label bottles with the date, grain bill, and any special notes about the batch.
- Store bottles upright in a cool, dark place.
Give your whisky a few weeks to “marry” in the bottle—a process where flavors integrate for a smoother finish.
8. Experimentation and Craftsmanship
One of the joys of homegrown whisky is the opportunity to experiment. Try different grains, yeast strains, and barrel types. Infuse your whisky with fruits, herbs, or spices for creative twists. Keep detailed notes on each batch for future reference and improvement.
9. Frequently Asked Questions
- Can I make whisky without distilling? Technically, no—true whisky must be distilled. However, you can create grain-based infusions or liqueurs that mimic whisky flavors.
- Is it legal to distill at home? In many countries, home distillation requires a license or is outright prohibited. Always check your local laws before proceeding.
- How long does it take to make whisky? The whole process, including aging, can take anywhere from six months to several years, depending on aging methods and desired flavor.
Conclusion
Making homegrown whisky is a labor of love that blends science, art, and patience. With careful attention to each step—from grain selection and fermentation to distillation and aging—you can craft a spirit that is uniquely yours. Remember to approach the process safely, legally, and with an adventurous palate. Whether you toast with friends or savor a quiet dram alone, your homemade whisky will be a testament to your passion and dedication.


